Faster Inspection, Quieter Gears
Gleason Offers Gear Production and Inspection Solutions to Combat Gear Noise
With the surge in electric vehicles and other noise-sensitive applications, gear noise reduction is now of paramount importance. The constantly increasing power density of gears and the growing importance of noise behavior are leading to increasingly tight tolerances, thus placing an even greater burden on the gear inspection technologies used to help ensure that these ambitious new objectives are achieved. Fortunately, several new gear production and inspection technologies are converging to produce quiet-running, longer lasting gears faster and more efficiently than ever.
100% Gear Inspection in High Volumes
Until recently, producing gears in higher volumes for automotive applications necessitated that quality control and actual inspection of finished gears be performed randomly and on a relatively small sampling. The desire today, however, is to inspect every gear, in-process, and with no impact on production, such that critical features such as profile, pitch and runout and even lead measurement can be measured and, if necessary, corrected on the fly. It’s the only way that automotive manufacturers can be assured that these gears meet the new standards for noise and long-running dependability.
Gleason’s new GRSL Gear Rolling System with integrated optical measuring technology, for example, opens up a world of new possibilities by reducing measuring time so it can realistically be done within the actual production times common to automotive applications. This provides the possibility of up to 100 percent inspection of all manufactured components in-process. GRSL has been successfully integrated into the Gleason’s new Hard Finishing Cell (HFC), a fully automated system with robot loading that integrates modules for auxiliary processes in order to meet specific customer requirements easily and flexibly.
The complete process sequence includes gear grinding, washing, laser marking, measuring, and part handling in a stackable basket system. Finished components to be tested are loaded by robot onto the GRSL. During the gear inspection, a laser scanner is used to measure all gear characteristics. This is done for each tooth and not, as is usually the case, only on four teeth distributed over the circumference. Deviations are fed back directly into the production machine by means of a closed-correction loop. Both fully automatic correction and real-time adjustment of the corresponding parameters can be achieved.

The Complete Noise Analysis Toolkit
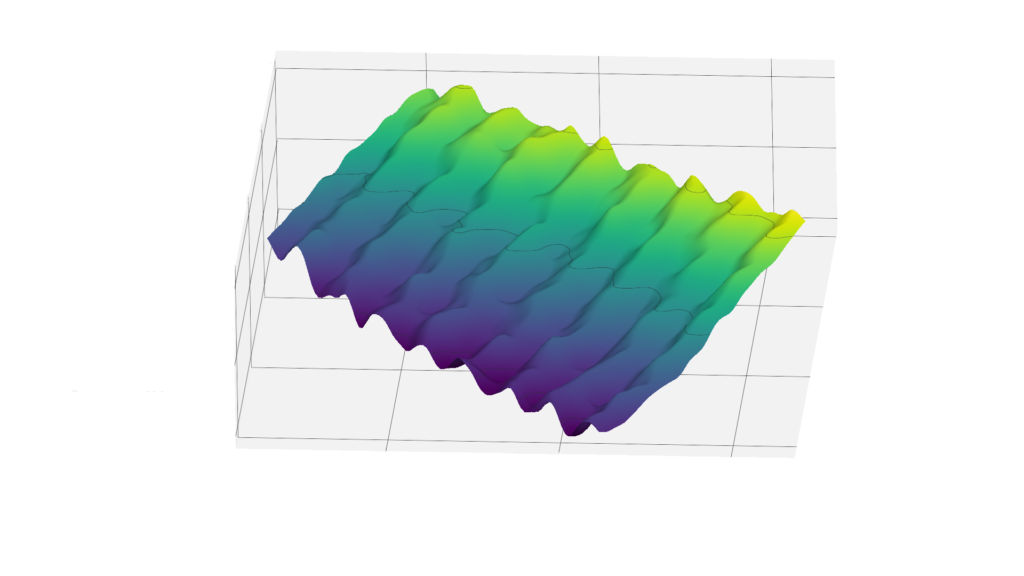
Of course, gear noise analysis and reduction isn’t just reserved for automotive gears produced in higher volumes. Noise-sensitive gear applications are everywhere. That’s why Gleason’s GAMA applications software for our GMS series of analytical gear inspection systems can apply multiple analysis tools to help identify the root cause of gear noise. The input to these tools is measurement data collected during the inspection of a gear. These tools save the GAMA user time with extremely user-friendly input requirements and mathematically optimized outputs for ease of interpretation.
The GMS Series are all capable of performing contact analysis, using the same GAMA software. The GMSL Series offers additional benefits, due to its ability to capture high density data at speeds up to 1600% faster than tactile probing. Gleason brings a significant advantage to its customers by combining multiple analysis tools on one platform. With GAMA, users benefit from any/all of these powerful tools:


