Making Gear Noise Visible
We have seen a constant increase of gear noise as an important quality criterion over the last years, especially in the automotive industry. The development of electric powertrains has pushed the importance of noise behavior for gears even further. This development results in tighter geometrical tolerances and the need to access the noise behavior directly as an additional quality criterion including tolerances. In case of noise testing, the result of the quality check is an order spectrum and typically there is a limit set for either single orders or along the whole order spectrum.
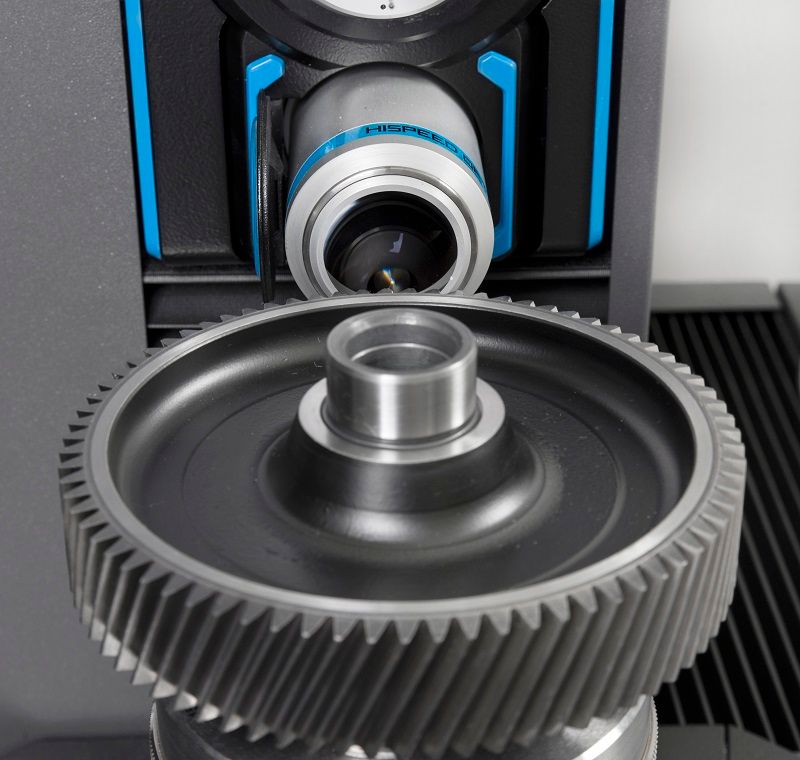
As a first step, we should look into the geometrical tolerances. Tighter tolerances typically lead to a higher measurement frequency, driving quality costs. One measure to limit cost increase is speeding up the measurement process itself. In order to achieve shorter cycle times Klingelnberg has developed optical metrology for gears. A major challenge are the tight tolerances for the geometrical features. The accuracy of the measuring system cannot be compromised and is critical for an optical system. Klingelnberg has introduced the concept of hybrid metrology by combining a tactile and an optical system. This enables us to combine the flexibility and robustness of a tactile system with the speed of an optical system. For gear measurement, the rather fast profile and lead measurements are performed using the tactile system whereas the time-consuming indexing measurement is performed with the optical system. As a result, the time for indexing measurement can be reduced by up to 80%. This means for the whole cycle time a gain of up to 40%. Introducing the optical system into the standard gear measurement software brings additional advantages. All evaluation specifics including the data interfaces (e. g. statistics) stay exactly the same. Therefore, introducing the optical system into production is an easy process.
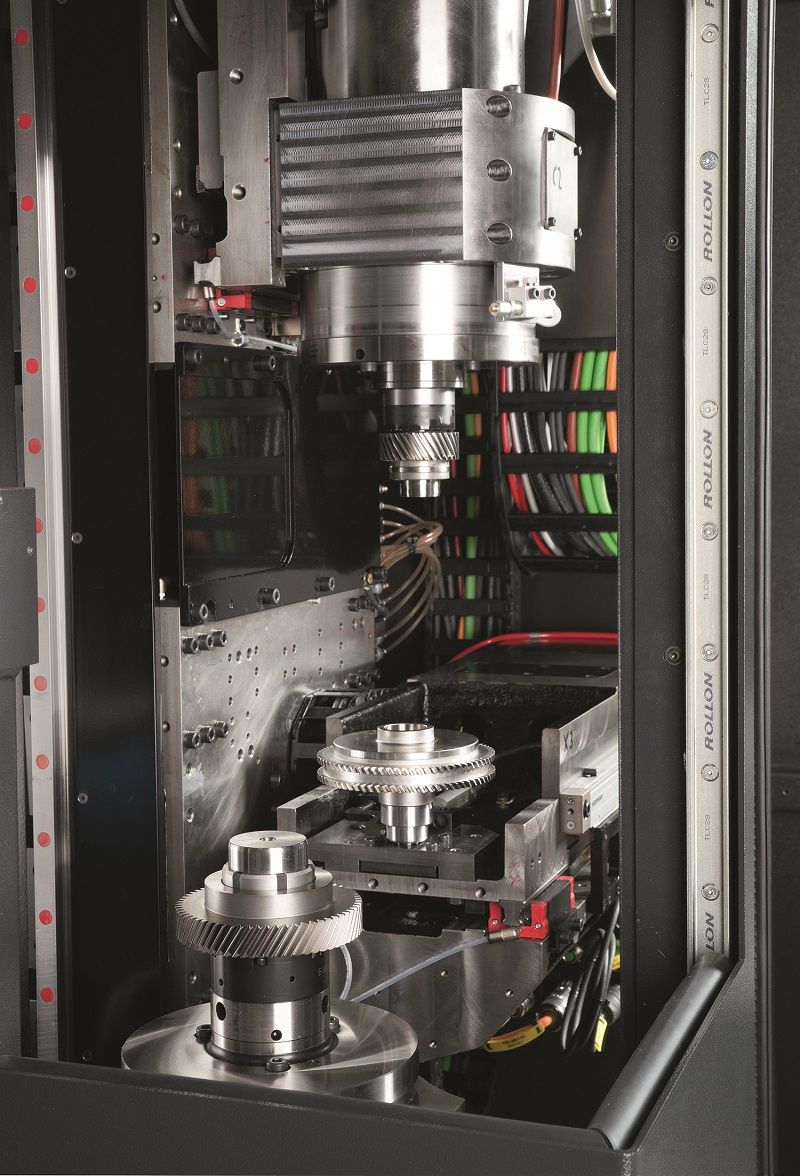
 Höfler Cylindrical Gear Roll Testing Machine R 300
The next step is taking noise directly as a quality criterion and not via the part geometry. Here Klingelnberg has introduced the Gear Deviation Analysis (GDA) software on standard measuring centers. The GDA software evaluates waviness on gear flanks and translates it into an order spectrum representing the orders a particular gear is likely to cause in a gearbox. The basis for this analysis is just a standard gear measurement. For analysis and troubleshooting purposes, typically all gear teeth are analyzed. For production monitoring instead, there is the option to use four teeth only. This means the standard gear measurement anyway performed in production is the basis for the analysis. As a result, we get what is called the “3rd measuring sheet”. It contains the orders as well as tolerances and specific values looking into waviness.
For electric vehicles, we can see a clear tendency towards 100% testing for noise in the industry. This requires a fast and reliable testing method. In this case roll testing for cylindrical gears is the method of choice. In fact, it has been a standard for bevel gears for quite a long time. Typically, in the cylindrical world people think of double flank testing. Unfortunately, the information about gear noise is rather limited. The standard method to apply here is single flank testing. This method shows directly the transmission error of a gear being the root cause for gear noise. With the Höfler Cylindrical Gear Roll Testing Machine R 300, Klingelnberg offers all three methods known in order to have the necessary flexibility. It is possible to cut down the testing cycle to match the gear grinding cycle time in order to ensure 100% testing at affordable costs. Therefore, typically the methods structure born noise (SBN) and torsional acceleration test (TAT) are used since they work with rather high rotational speed and ensure short cycle times.
 The R 300 offers a modular machine design.
We can conclude that gear noise is an important quality criterion especially for automotive applications. There are different methods to ensure a good gear noise behavior based on either analytical inspection or single flank testing. Analytical inspection offers the option to combine noise evaluation with gear measurement that needs to take place anyway in production. The solution here is the Gear Deviation Analysis software. The analytical gear inspection can be sped up by optical metrology but still will not match our machining cycle times and thus is not well suited for 100% inspection. Single flank testing instead is the method of choice when fast testing cycles are required especially for 100% inspection.


