Multisensor CMMs for Gear Inspection
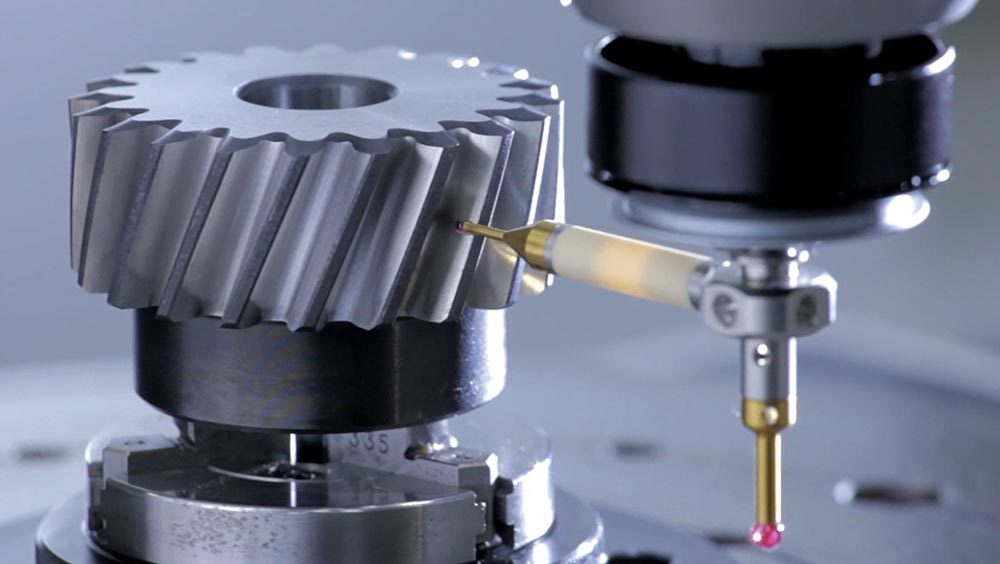
New technology in CMM probes allows for touch probes to measure gears with high accuracy and repeatability.
Gear inspection has long been a highly specialized, costly investment and an overall challenging part of the gear manufacturing process. Through advances in technology and automation, this typically tedious, time-consuming process is becoming significantly more efficient as multisensor coordinate measuring machines (CMMs) gain more traction as one of the preferred methods of gear inspection.
The gear manufacturing market is forecast to grow by USD 73.66 billion between 2020 and 2025, expanding at a CAGR of 5.73%, according to market research firm Technavio. This growth will be fueled in part by the adoption of industrial automation solutions to speed time-to-market and improve quality. While standard machines still have a place on the manufacturing floor, it’s not surprising that an increasing number of gear manufacturers are investing in multisensor CMMs to increase automation and streamline their inspection process.
Given that complicated gauges, testers, and CNC equipment all go into creating high quality gears, most gear-checking machines on the market today fall short because they are not designed to utilize multiple sensors beyond one or two different types. Multisensor CMM machines, on the other hand, have become a game changer for gear inspection because they combine up to five different types of sensors on just one machine: touch trigger measuring, scanning, vision sensor, laser probes, and surface roughness probes. In addition to reducing the number of machines required for gear inspection, multisensor CMMs also offer a single solution for gear measurement, production, and setup, including measurement of purchased gears. As a result, they are far more economical and cost effective compared to conventional, dedicated gear inspection equipment.
The benefits of multisensor CMMs
Multisensor CMMs provide a wide array of gear inspection and measurement tools on a single machine platform. This provides gear manufacturers with a number of potential benefits:
Lower costs and improved ROI
Today, the cost of programmable, automated, and sophisticated gear checking equipment can range from $300,000 to $350,000 or more. And this doesn’t include the cost of master gears and artifacts needed for setting dedicated gear measurement equipment. The cost of all required components can be at least 2.5 times as much as the cost of a multisensor CMM machine equipped with a rotary table, high-speed scanning probe head and gear measurement software.
Improved productivity
In general, using the automatic measuring tools in multisensor CMMs, whether for gear checking or regular SATIC geometry, can provide time savings from 30 to 98 percent. The greater the complexity, the greater the time savings. For example, a part with 3,000 characteristics may take five hours for a typical gear measurement tool to run one part. Automated tools on a multisensor CMM can bring about time savings as high as 98 percent because they can measure all those characteristics so much faster and accurately than manual methods. In addition, using multisensor CMMs increase productivity because multiple checking functions can be completed on one machine such as inspecting gear parameters, measuring microscopic gear teeth, high-accuracy 3D scanning, and more. Plus, with the surface finish probe on the same CMM, it’s possible to check the surface and finish of gear teeth, the internal boar of a gear, as well as the mounting and shaft.
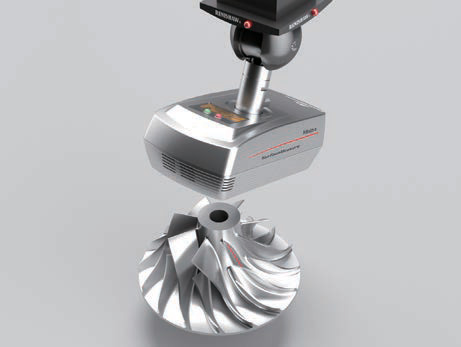
 Utilizing a Surftest probe on a CMM allows for highly accurate measurements.
 The automated optical tools on multisensor CMMs never touch the gear, so they can take high precision measurements without damaging the surface of delicate gears. This type of high precision measurements of gear surfaces helps to ensure the gear will not make noise due to gear movement. Higher quality overall is also brought about by eliminating operator error. As the engineering CAD model automatically generates the program to inspect or measure the part, it is never ambiguous or subject to multiple interpretations by an operator.
Choosing the right CMM
Of course, it’s important to keep in mind that the type of multisensor CMM used to measure gears will depend primarily on the gear size and weight. For large gears with diameters of more than a meter, or for those that are overly heavy, a high-precision, horizontal arm CMM with a rotary table solution is best. This kind of CMM is typically used for inspecting large-scale gears like those used in ships and heavy equipment powertrains, as well as turbine gearing and those used in nuclear and thermal power plants. Due to the open-access structure of this style of CMM, inspection of such large gears is easier.
Conversely, bridge CMMs are usually better for measuring small or medium size gears, and these machines come in two available styles. The first style has a fixed table with moving bridge, while the other has a moving table with a fixed bridge. This latter affords greater accuracy because the servo drives are located at the center of gravity, with a moving bridge the X-axis drives along one side, so the accuracy will change as the z-spindle moves in X.
Other inspection uses for CMMs
In addition to replacing dedicated inspection equipment, CMMs can also replace many of the smaller, hand-held, and functional gauges used in gear inspection. It should be noted that there can be issues around lack of repeatability between operators using manual inspection methods, as well as issues concerning slower speed of measurement in general.
It’s also good to remember that with manual gauges results are written down, making them subject to human error and incorrect values being recorded. An automated CMM can also measure parts while an inspector continues to perform other duties, leading to more accurate, consistent, and repeatable results and reporting.
CMMs can even be placed on the shop floor alongside production machines, as long as rapid and dramatic temperature changes, as well as vibrations, are considered. If the temperature is stable, there usually will be no major noticeable errors, even given the tolerances required for gears. And many modern CMMs today come with temperature sensors to help ensure proper compensation is made for any temperature fluctuations that do occur.

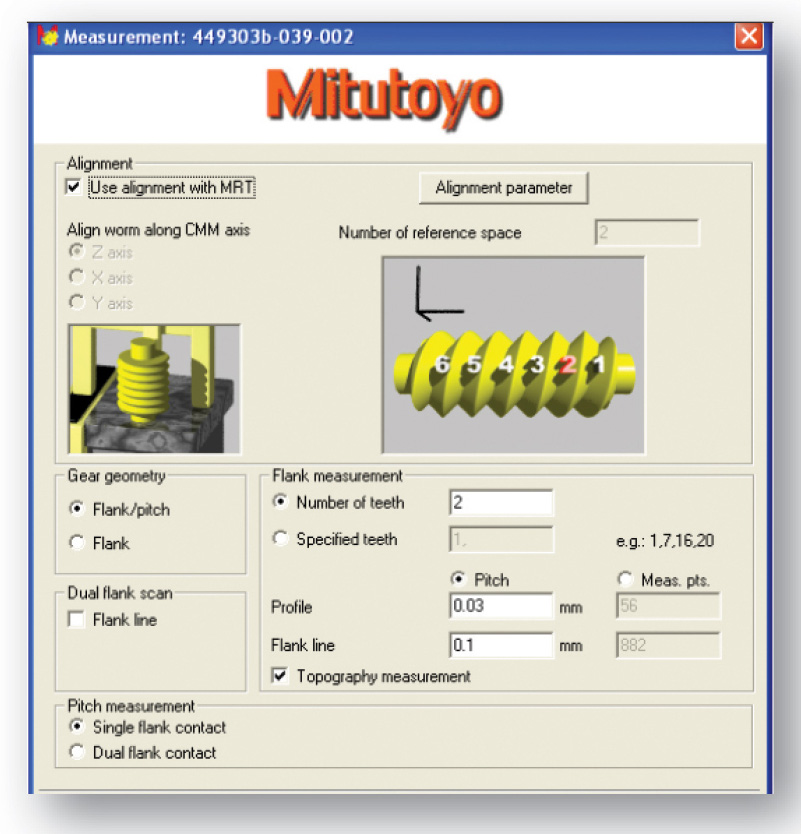
Special CMM software supports measuring several types of worm gears using a touch trigger probe or scanning probe on a CMM.
Software is important for all forms of gear measurement
Beyond the precision and accuracy of CMMs, one of the keys to accurate gear measurement, whether on a CMM or on dedicated gear checking equipment, is the software. For instance, calculation of whether an involute curve is correct based on data points extracted during measurement requires the use of high-level mathematical formulas and sophisticated algorithms. That’s why it’s vital to look for CMMs with software that can manage these calculations and can even combine intuitive icon-based programming with the ability to import native CAD models.
In addition, it’s important for users to be able to choose various software modules to analyze measurement results to document and present results and to archive the data in practical structures. This means software that integrates with networked systems for inline process control applications, as well as enables true enterprise-wide functionality.
One of the biggest challenges when investing in a multisensor CMM is incorporating software that supports the many diverse sensors for initial requirements but can be easily updated to accommodate new sensor technology for evolving gear requirements. For example, in the automotive industry, electric vehicles are manufactured with a constant velocity transmission that requires specific gear designs and different inspection requirements than traditional vehicles. The flexibility of multisensor CMM software makes it possible to respond to evolving industry requirements like these much faster.
The future of multisensor CMMs
As CMM machines and software continue to become more sophisticated, advancements in automated laser scanning and optical technology using Artificial Intelligence (AI) are expected to provide even higher accuracy. Moreover, multisensor CMMs will also expand their features and applications beyond gear inspection, giving manufacturers even more flexibility. Gear designs themselves are also likely to evolve and accommodating additional shapes and characteristics will require the level of automation and flexibility that only a single platform, multisensor CMM can provide for gear inspection and measurement.


