Technology Advancements in EV Inspection
Electric Vehicles Provide New Challenges as well as Opportunities
Different component characteristics in electric vehicles lead to higher noise and load requirements in the automotive industry. E-mobility—to a certain degree—is changing how gear analysis and inspection is carried out. Dissecting noise issues in gears and gearboxes requires an analytical approach like a detective. The problem could stem from the design itself, tolerancing or tip/root relief issues, tooth flank form deviations like waviness or perhaps crowning issues that directly impact noise. Every aspect of gear production needs to be examined to provide the most accurate results.
Solutions for Evolving Gear Inspection Needs
“How is the production machine influencing gear noise? Does other equipment nearby cause additional vibrations? These are questions that need to be answered to better understand gear noise,” said Klaus Deininger, international sales manager, Gleason Metrology Systems.
“The constantly increasing power density of gears and the growing importance of noise behavior are leading to increasingly tight tolerances, thus placing an even greater burden on gear inspection technologies,” Deininger said.
Even when all the measurements are in tolerance, components still fail due to bad noise behavior. Gleason offers two software applications to evaluate gear noise including low frequency noise, medium frequency noise and high frequency noise (crowning, tooth mesh irregularities and waviness):
GAMA’s KTEPS (Kinematic Transmission Error Prediction Software) analyses the plane of contact for an entire gear rotation by deploying tooth topography measurements. Based on surface deviations transmission errors can be calculated and evaluated by FFT analysis. In a second step the operator can evaluate suspicious harmonics by extracting only the topography data representing the questionable harmonics. This data is being presented in a false color picture, making it much easier to understand the source of the waviness. This unique way of gear evaluation is an ideal tool for ghost noise studies whilst correlating with End of Line single flank testing.
Topography measurement is a relatively slow process, so customers want to obtain waviness measurements faster and more efficiently than they have in the past. Gleason has created Advanced Waviness Analysis to detect and mitigate critical noise behavior caused by hard-to-find tooth form irregularities. Advanced Waviness Analysis Software can be seamlessly connected with KISSsoft’s Gear Design Software for Loaded TCA to provide multi-sensor inspection gear noise analysis based on standard profile, lead and pitch inspection, which can be tactile, optical or a combination of both.
“This is going to be a faster way to get the measurements customers need in today’s production environment. There’s no additional time for analysis, once the measurement is completed, you’ll have results,” Deininger said.
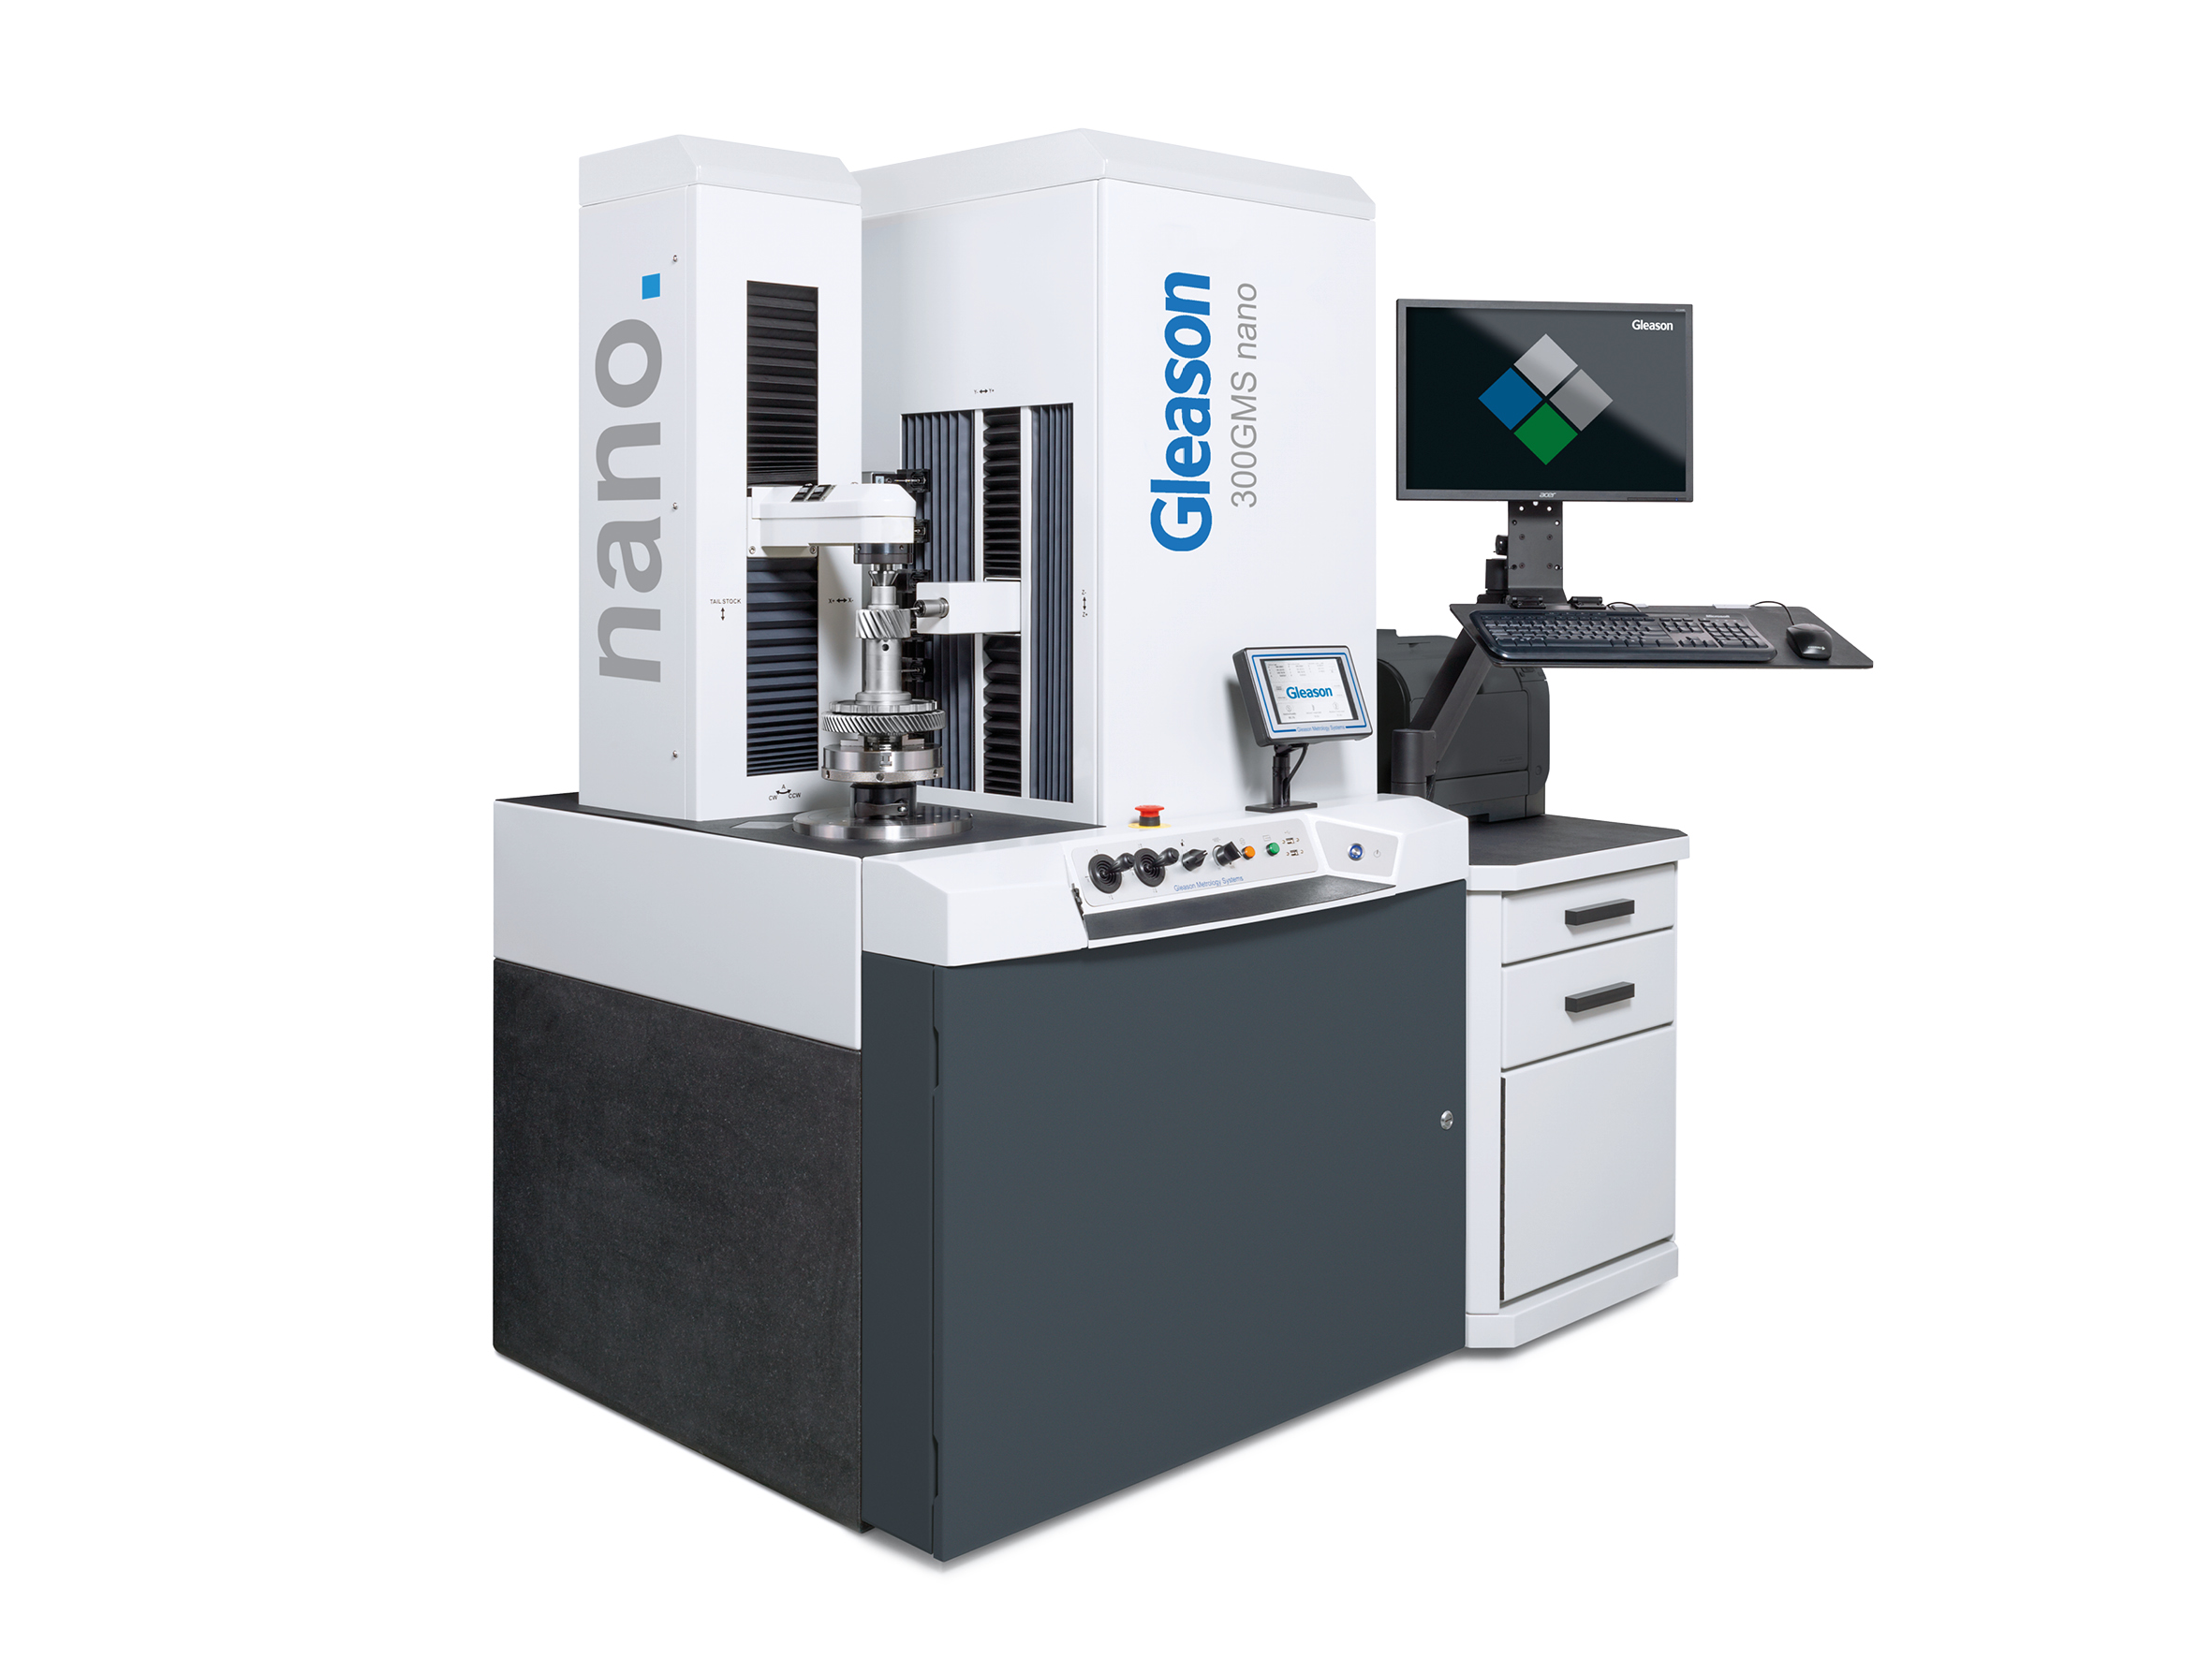
300GMS nano Gear Metrology System with Integrated Gear Noise Analysis. (Courtesy Gleason)
The 300GMS nano is an example of a new inspection system that is suited to support automotive e-drive production with minimum noise requirements.
“This machine covers the full range of modern gear inspection capabilities, as well as fine pitch gear inspection and CMM measurement. With the 300GMS nano, users are now able to measure surface finish at sub-micron level with a skidless probe, analyze waviness for profile, lead and pitch, and execute noise analysis with sophisticated software tools,” he added.
The machine also integrates 3D measurement and analysis capabilities typically offered by a CMM. The 300GMS nano provides customers with a valuable tool for e-drive gear measurements.
For many decades, Gear Noise NVH Roll Testing has been a part of bevel gear production, but cylindrical roll testing markets require more sophisticated technology.
“In order to look at electric vehicles, we must examine NVH from low to high frequency levels and provide a variety of testing features and capabilities,” Deininger points out.
The GRSL (Gear Rolling System with Integrated Laser Technology) System from Gleason combines traditional roll testing with advanced non-contact laser technology. This vastly improves cycle time for index, lead and profile inspection, as well as gear noise evaluation, and provides analytical inspection of 100 percent of production output, even for the toughest gear applications.
Combining the GRSL with Advanced Waviness Analysis software offers the unique possibility to evaluate each gear produced regarding potential waviness on the tooth flanks, which is the ultimate contributor of high frequency noise in gear mesh. This means, no gears with questionable or bad noise behavior enter final assembly, which reduces the costly disassembly of gearboxes with bad noise behaviors dramatically. Today’s gear inspection must also factor in the machine behavior itself. How does the machine contribute to measurements? Why are there variations from machine to machine? How can Gleason provide the most accurate inspection results moving forward?
Recently, the GRSL system was integrated into Gleason’s Hard Finishing Cell (HFC). This automated system includes a robot that integrates a variety of process modules including gear grinding, washing, laser marking, measuring and part handling. During the gear inspection, the laser scanner provides measurement characteristics for each tooth. Deviations are fed back into the machine via a Closed Loop correction.
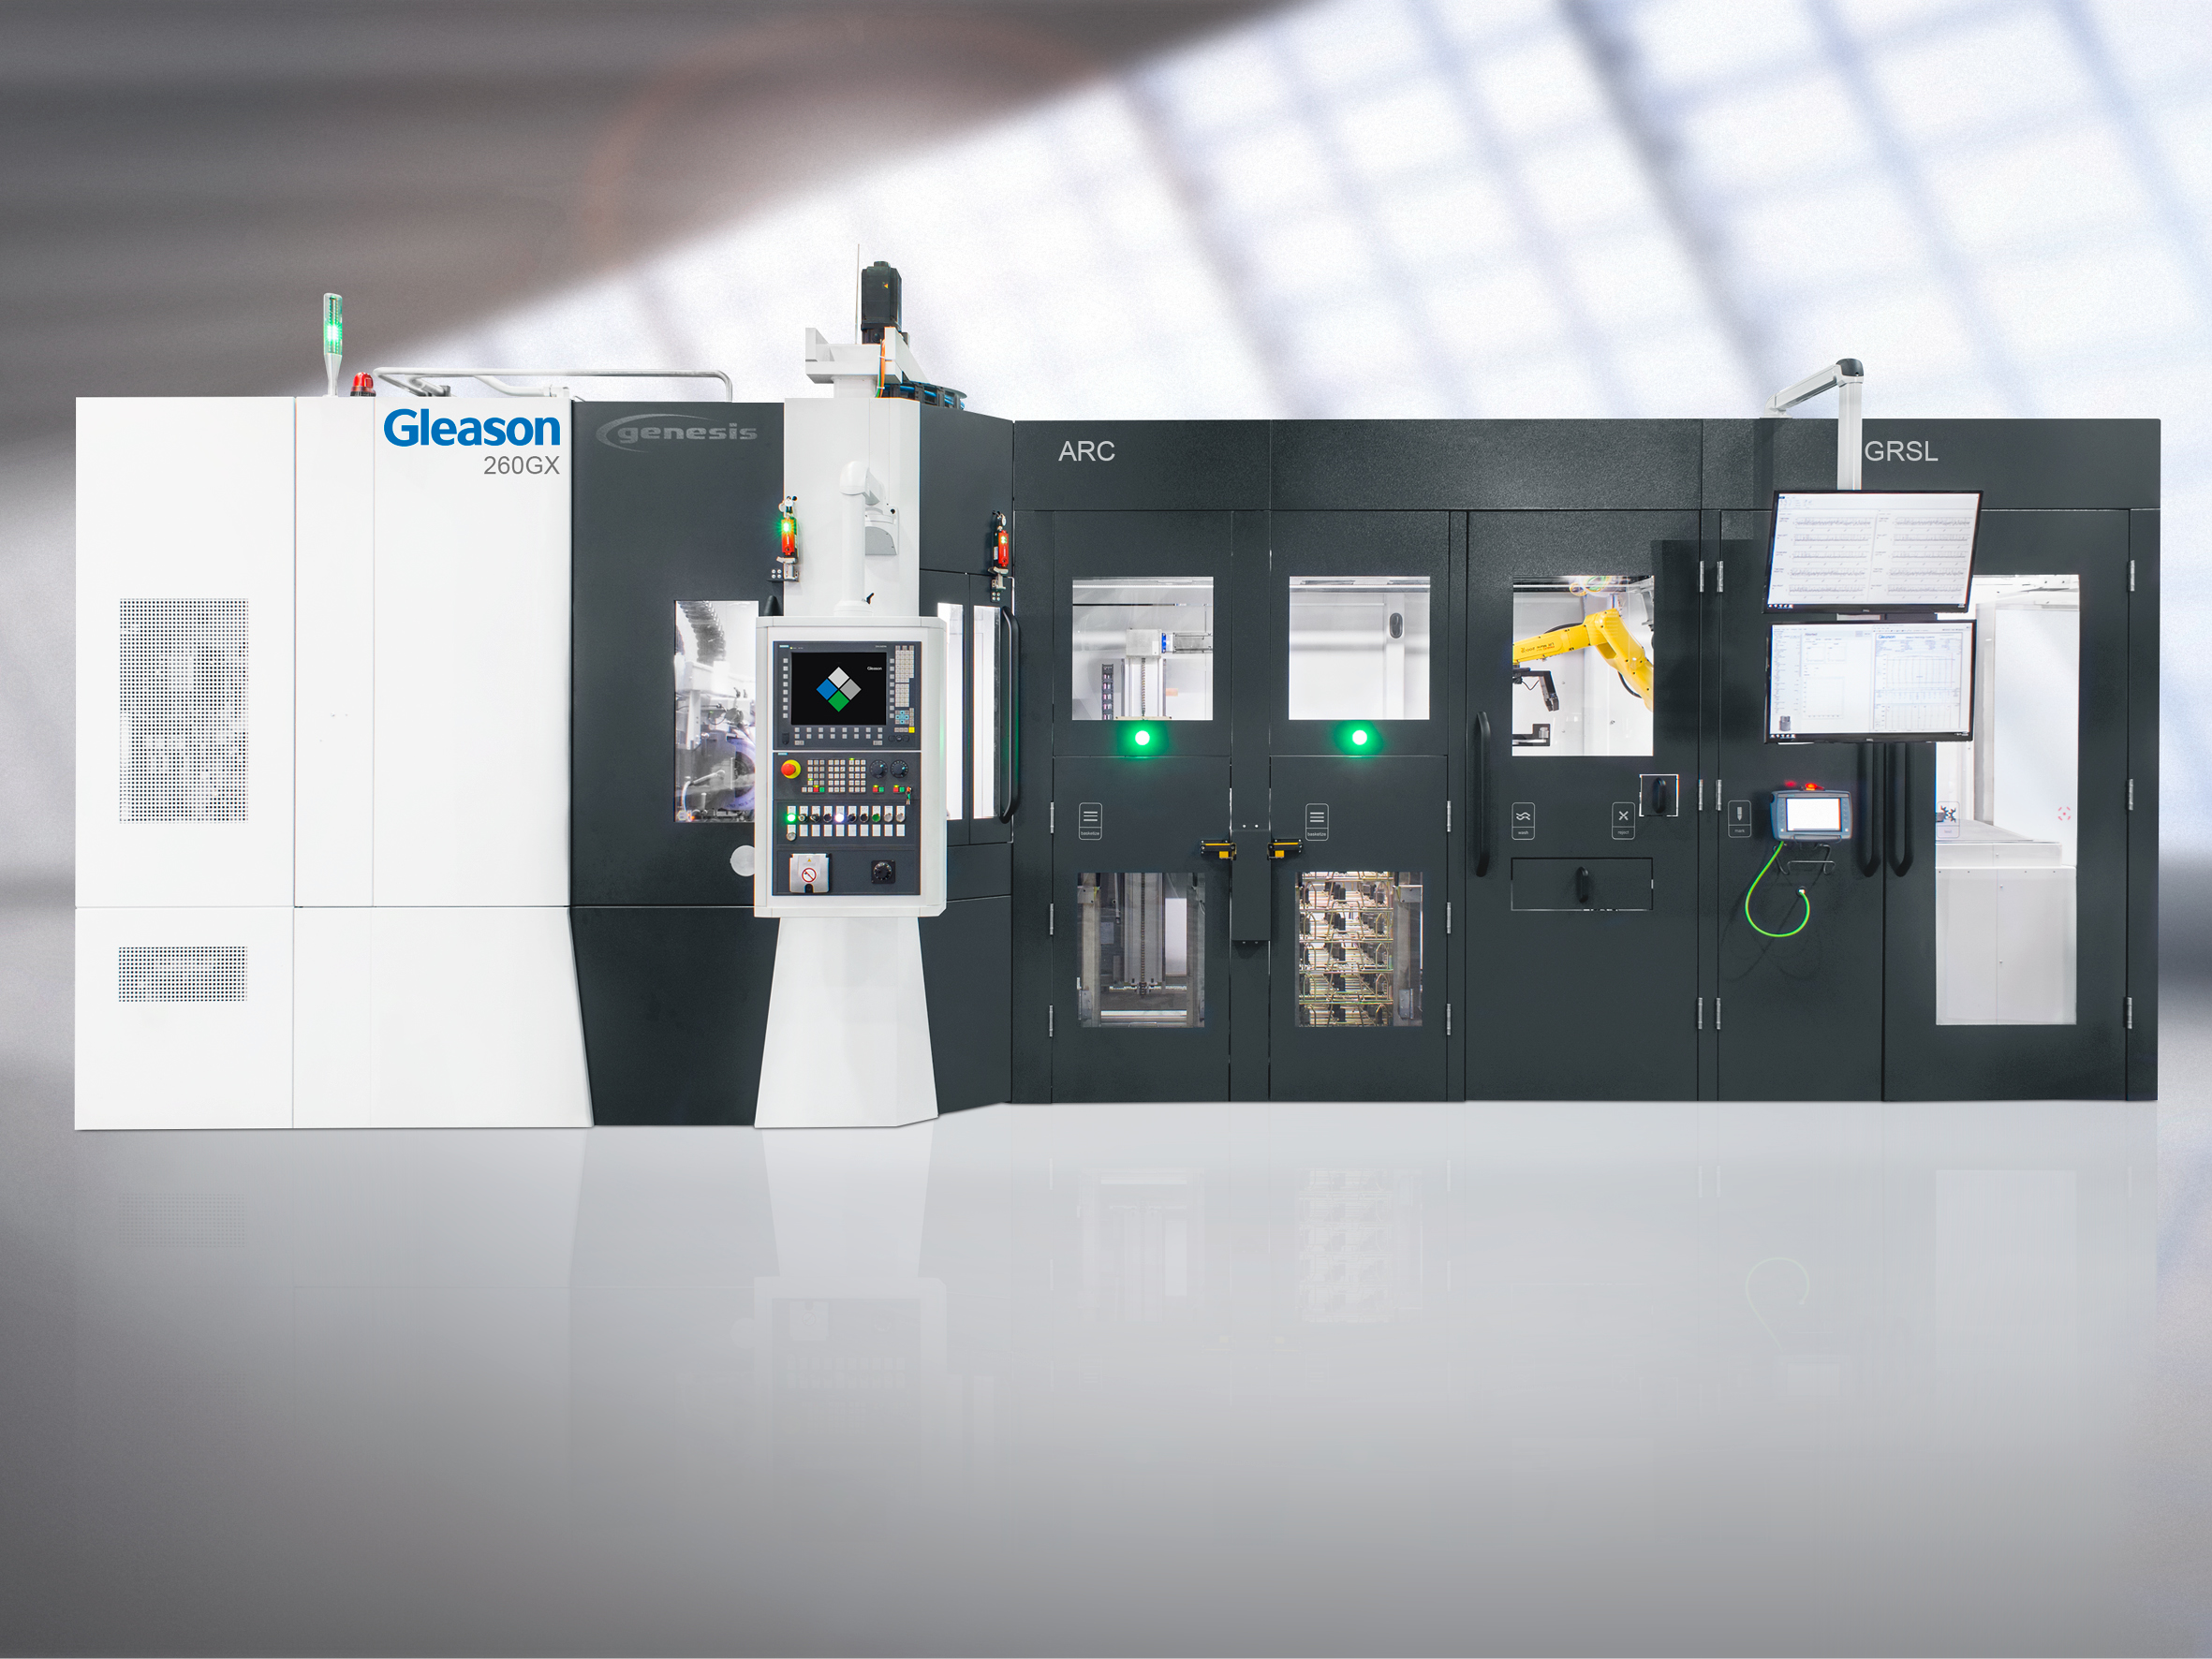
The HFC Hard Finishing Cell from Gleason combines gear grinding, auxiliary processes and gear inspection, with fully robotized part handling. (Courtesy Gleason)
The future of gear inspection is complete, in-process measuring with integrated gear noise analysis in a Closed Loop automated system, providing customers with all the necessary means to keep tolerances at all times, minimizing scrap and rework.
Klingelnberg Dissects Complex Inspection Requirements
Dr. Christof Gorgels, director, precision metrology at Klingelnberg, discussed the reduction of gear tolerances in the automotive industry in recent years. “The need for noise performance testing has increased and is an addition to the traditional geometric quality assessment. With the Gear Deviation Analysis (GDA) Klingelnberg has been offering a tool for many years to analyze the expected noise behavior of a gear based just on simple gear measurement,” he said.
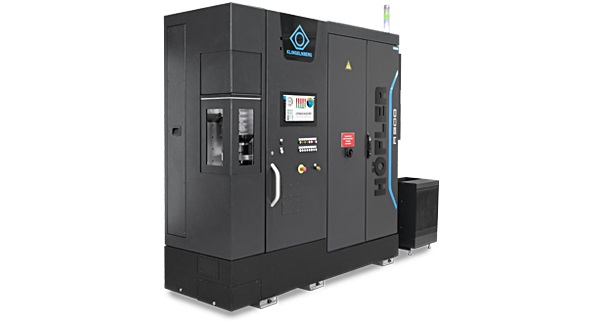
With Klingelnberg’s hybrid approach, the company offers a solution for faster measurements without compromising on accuracy. In addition, the R 300 a roll testing solution can do a fast 100 percent noise assessment of gears within the production cycle.
The R 300 provides five roll testing methods including single flank, structure-borne, torsional acceleration, double-flank and the helix roll test. (Courtesy Klingelnberg)
“Speed and flexibility both contribute to minimize the quality costs,” Gorgels said. “With the combination of GDA, hybrid metrology and roll testing, Klingelnberg offers a solution for the different requirements of gears concerning geometrical quality and noise.
There are two major differences in EV compared to conventional vehicles:
“The most obvious is the lack of a masking noise of the engine bringing gear noise even more into focus. Looking into load-carrying capacity, the electric motor has a different torque characteristic increasing load on the drive flanks. In addition, recuperation leads to high loads on the coast side that is new to the automotive industry. Combining higher load and noise requirements in combination with a highly loaded coast flank, the optimization of a gear flank design becomes much more complex,” Gorgels said.
Klingelnberg’s GDA software makes gear noise visible. It comprises the four modules View, Wave Analysis, Wave Production and Produce.

Klingelnberg’s R 300 roll testing solution provides 100 percent noise assessment of gears within the production cycle. (Courtesy Klingelnberg)
“For noise analysis we are evaluating the form error in a smarter way by looking not only for the amplitudes, but also for regular structures such as waviness. With our GDA software we offer a tool to our customers to rate this waviness and basically receiving order diagrams that can directly be compared to the end of line test. This ensures that the acoustics engineers and the manufacturing and quality engineers speak the same language,” Gorgels added.
What is important today is the advanced grinding process simulation. If a gear is found to be noisy the next question arising is how to fix the issue? Finding technical solutions for noise issues is far more complex compared to correcting standard geometrical deviations.
“With the manufacturing simulation, different process deviations, like for instance a tumbling grinding tool or a torsional vibration of the workpiece table, the result on flank waviness can be simulated and thus compared to real world measurement result. Besides making noise visible, we also help our customers to find the root cause,” Gorgels said.
He is seeing more tolerances for certain orders on customer’s prints today.
“These orders can be tooth mesh orders (and higher harmonics) as well as so called ghost orders. If these requirements show up on a printout, they should be measured in production. This increases the demand for standard production solutions which we offer with the GDA analysis as well as the R 300 roll tester,” Gorgels said.
In the coming years the need to use these tools will increase. Standardization will become a major topic to ensure a common understanding between OEMs and their suppliers.
Liebherr Points to Accuracy, Liability and Reliability for Gear Inspection Results
Gears in EVs have a particular higher demand on noise generation and consequently on the surface structure and waviness of the gears. Although the measuring principle for the inspection of involute gears is still valid, EV gears are pushing the limits for gear inspection today, according to Matthias Bruederle, product manager at Liebherr.
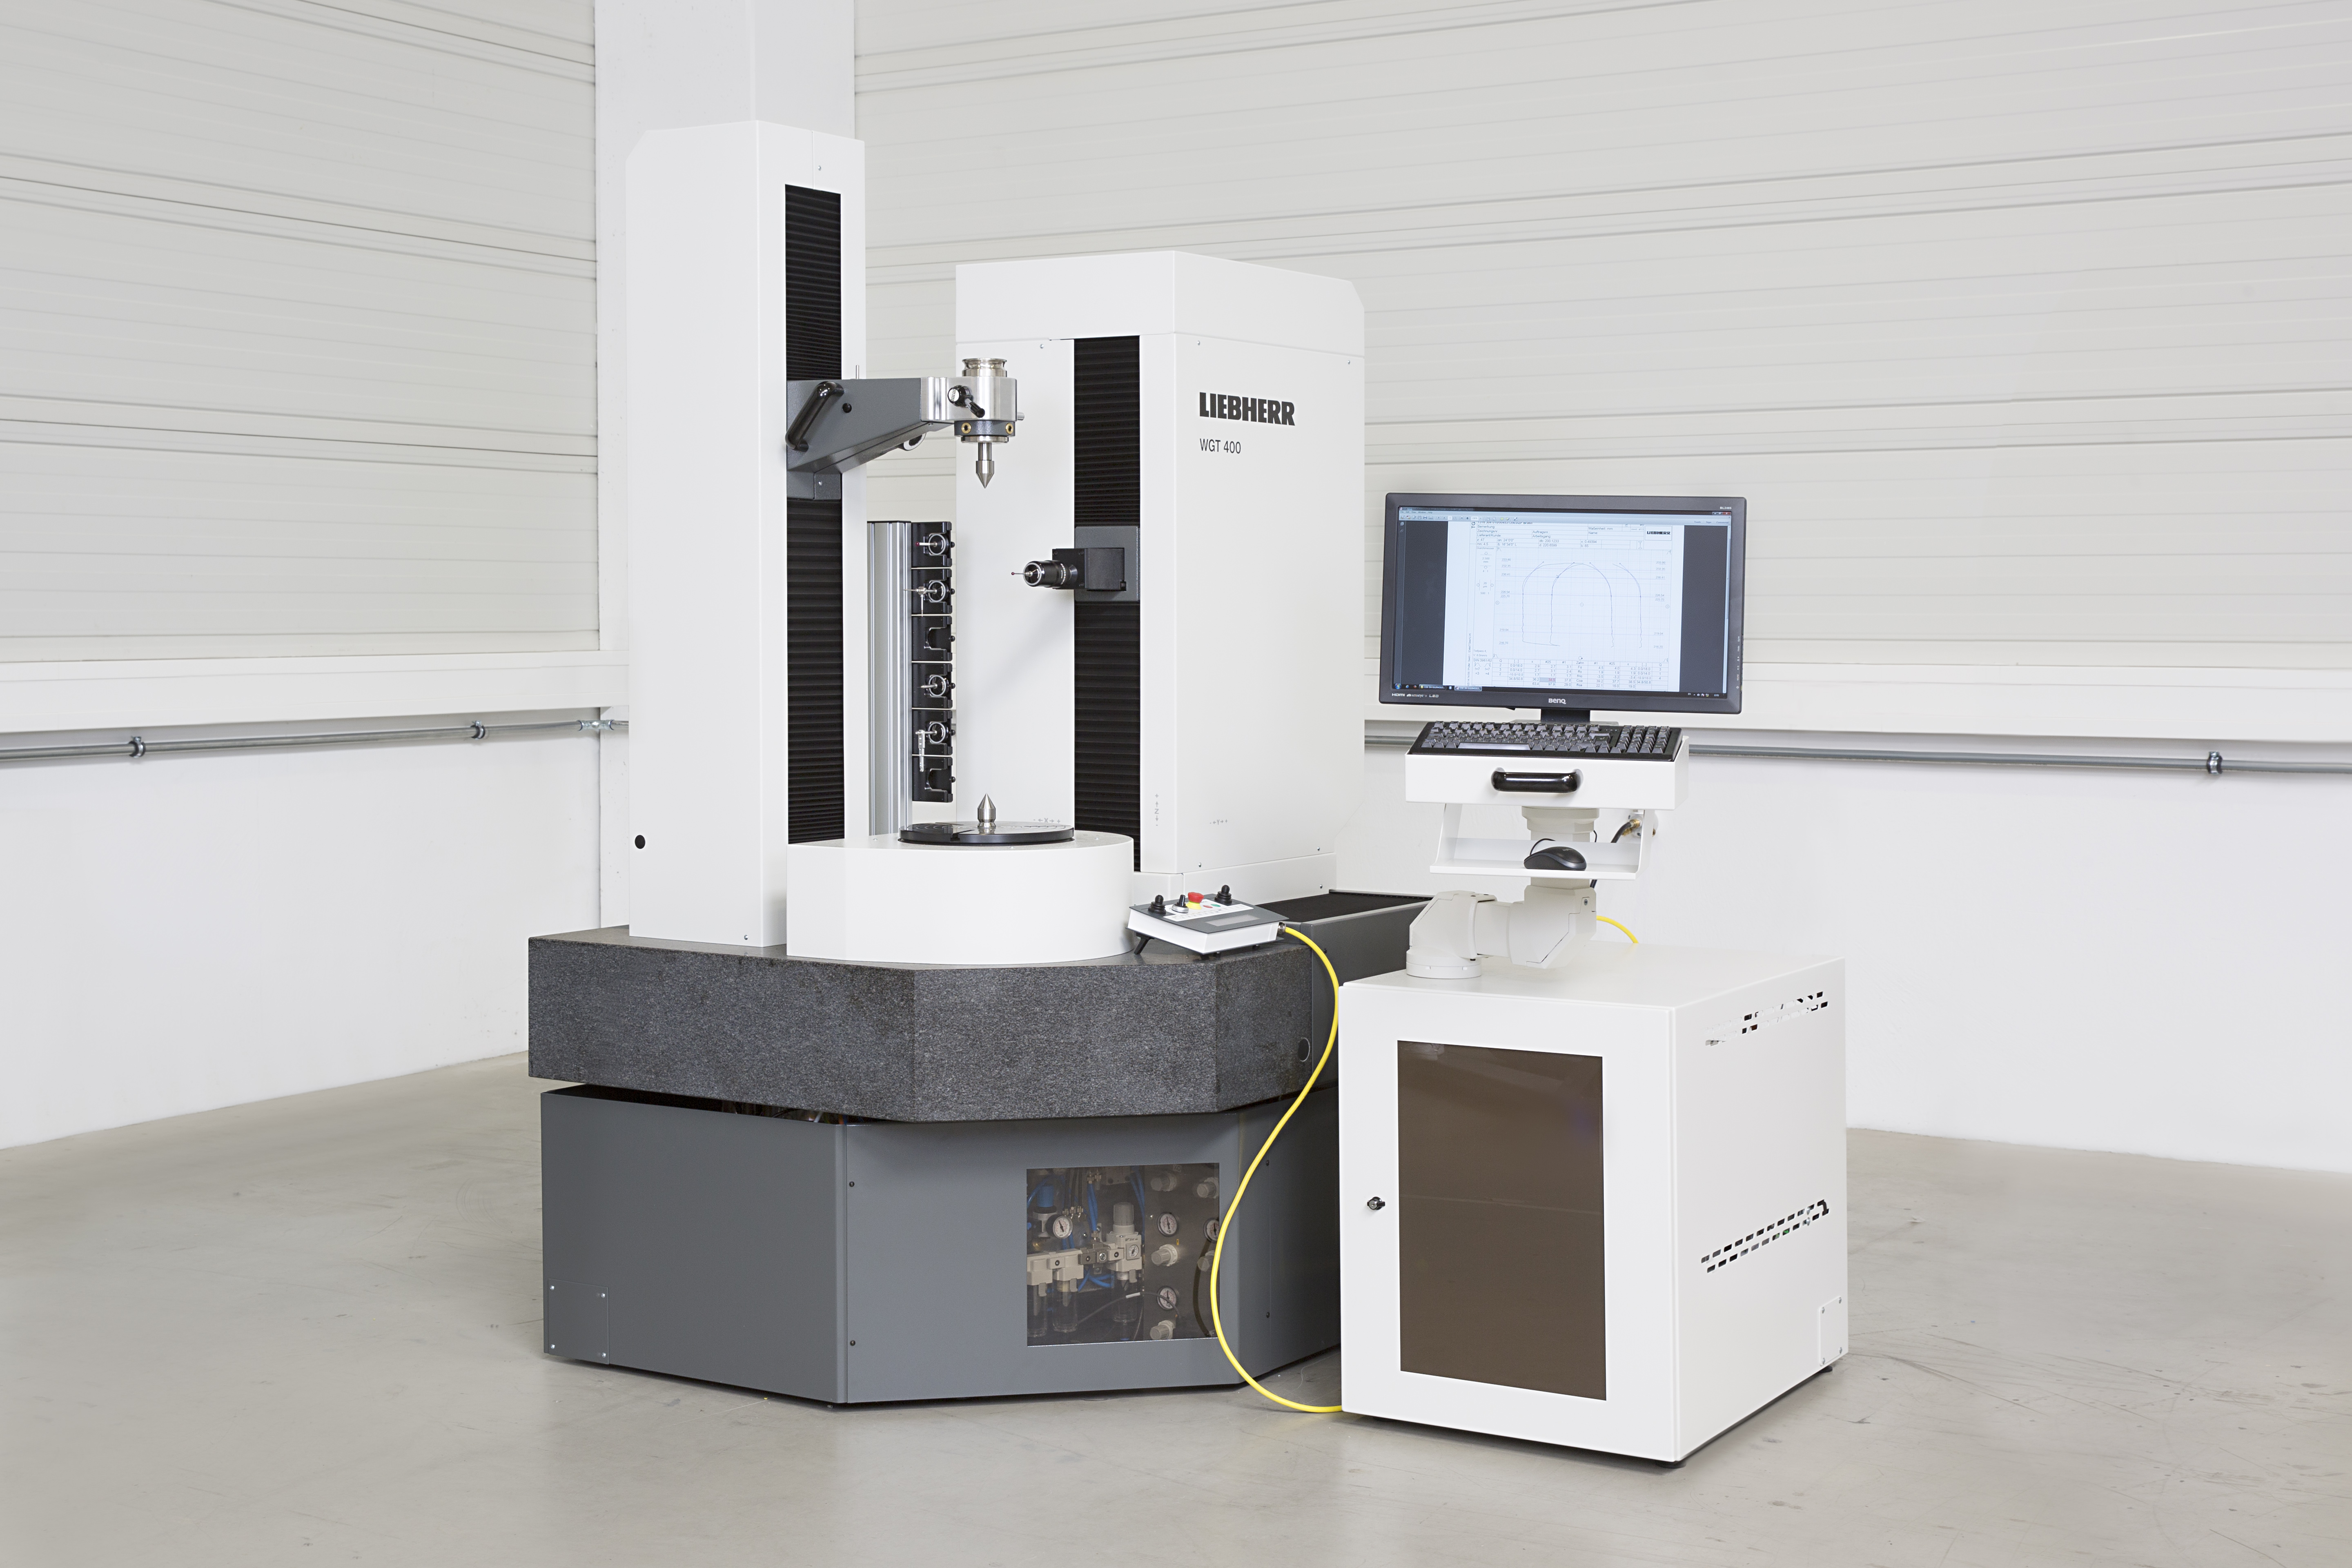
The WGT 400 is a universal gear inspection machine which is suitable both for gear and for tool measurement and which provides a high-quality alternative to other common inspection machines. (Courtesy Liebherr)
Liebherr’s WGT 400 optimizes the precision and quality of the measurement of tools used to machine very small parts, including internal gears and gears with very small modules. The supply of data in real-time is one of the machine’s benefits as well as its high measuring speed.
The WGT series of measuring technology closes the gap in the closed-loop sector. The four-axis measuring devices are equipped with high-precision mechanics and electronics, which are controlled by intelligent and user-friendly software. The combination of granite guides and air cushioning creates maximum precision with wear-free mechanics.
Liebherr’s solution “Open Connect” offers a direct link between the grinding machine and the inspection center, providing a fast and reliable solution to shorten the response time to a determined error of the gear’s geometry. Data is transferred via standardized GDE-interface and work with any grinding machine.
“The use of optical sensors seems to be an appropriate solution to improve performance and quality cost, however open questions regarding accessibility and accuracy, in particular on polished surfaces, are still preventing this to be a reliable solution applicable for the inspection in industrial environment,” Bruederle said.
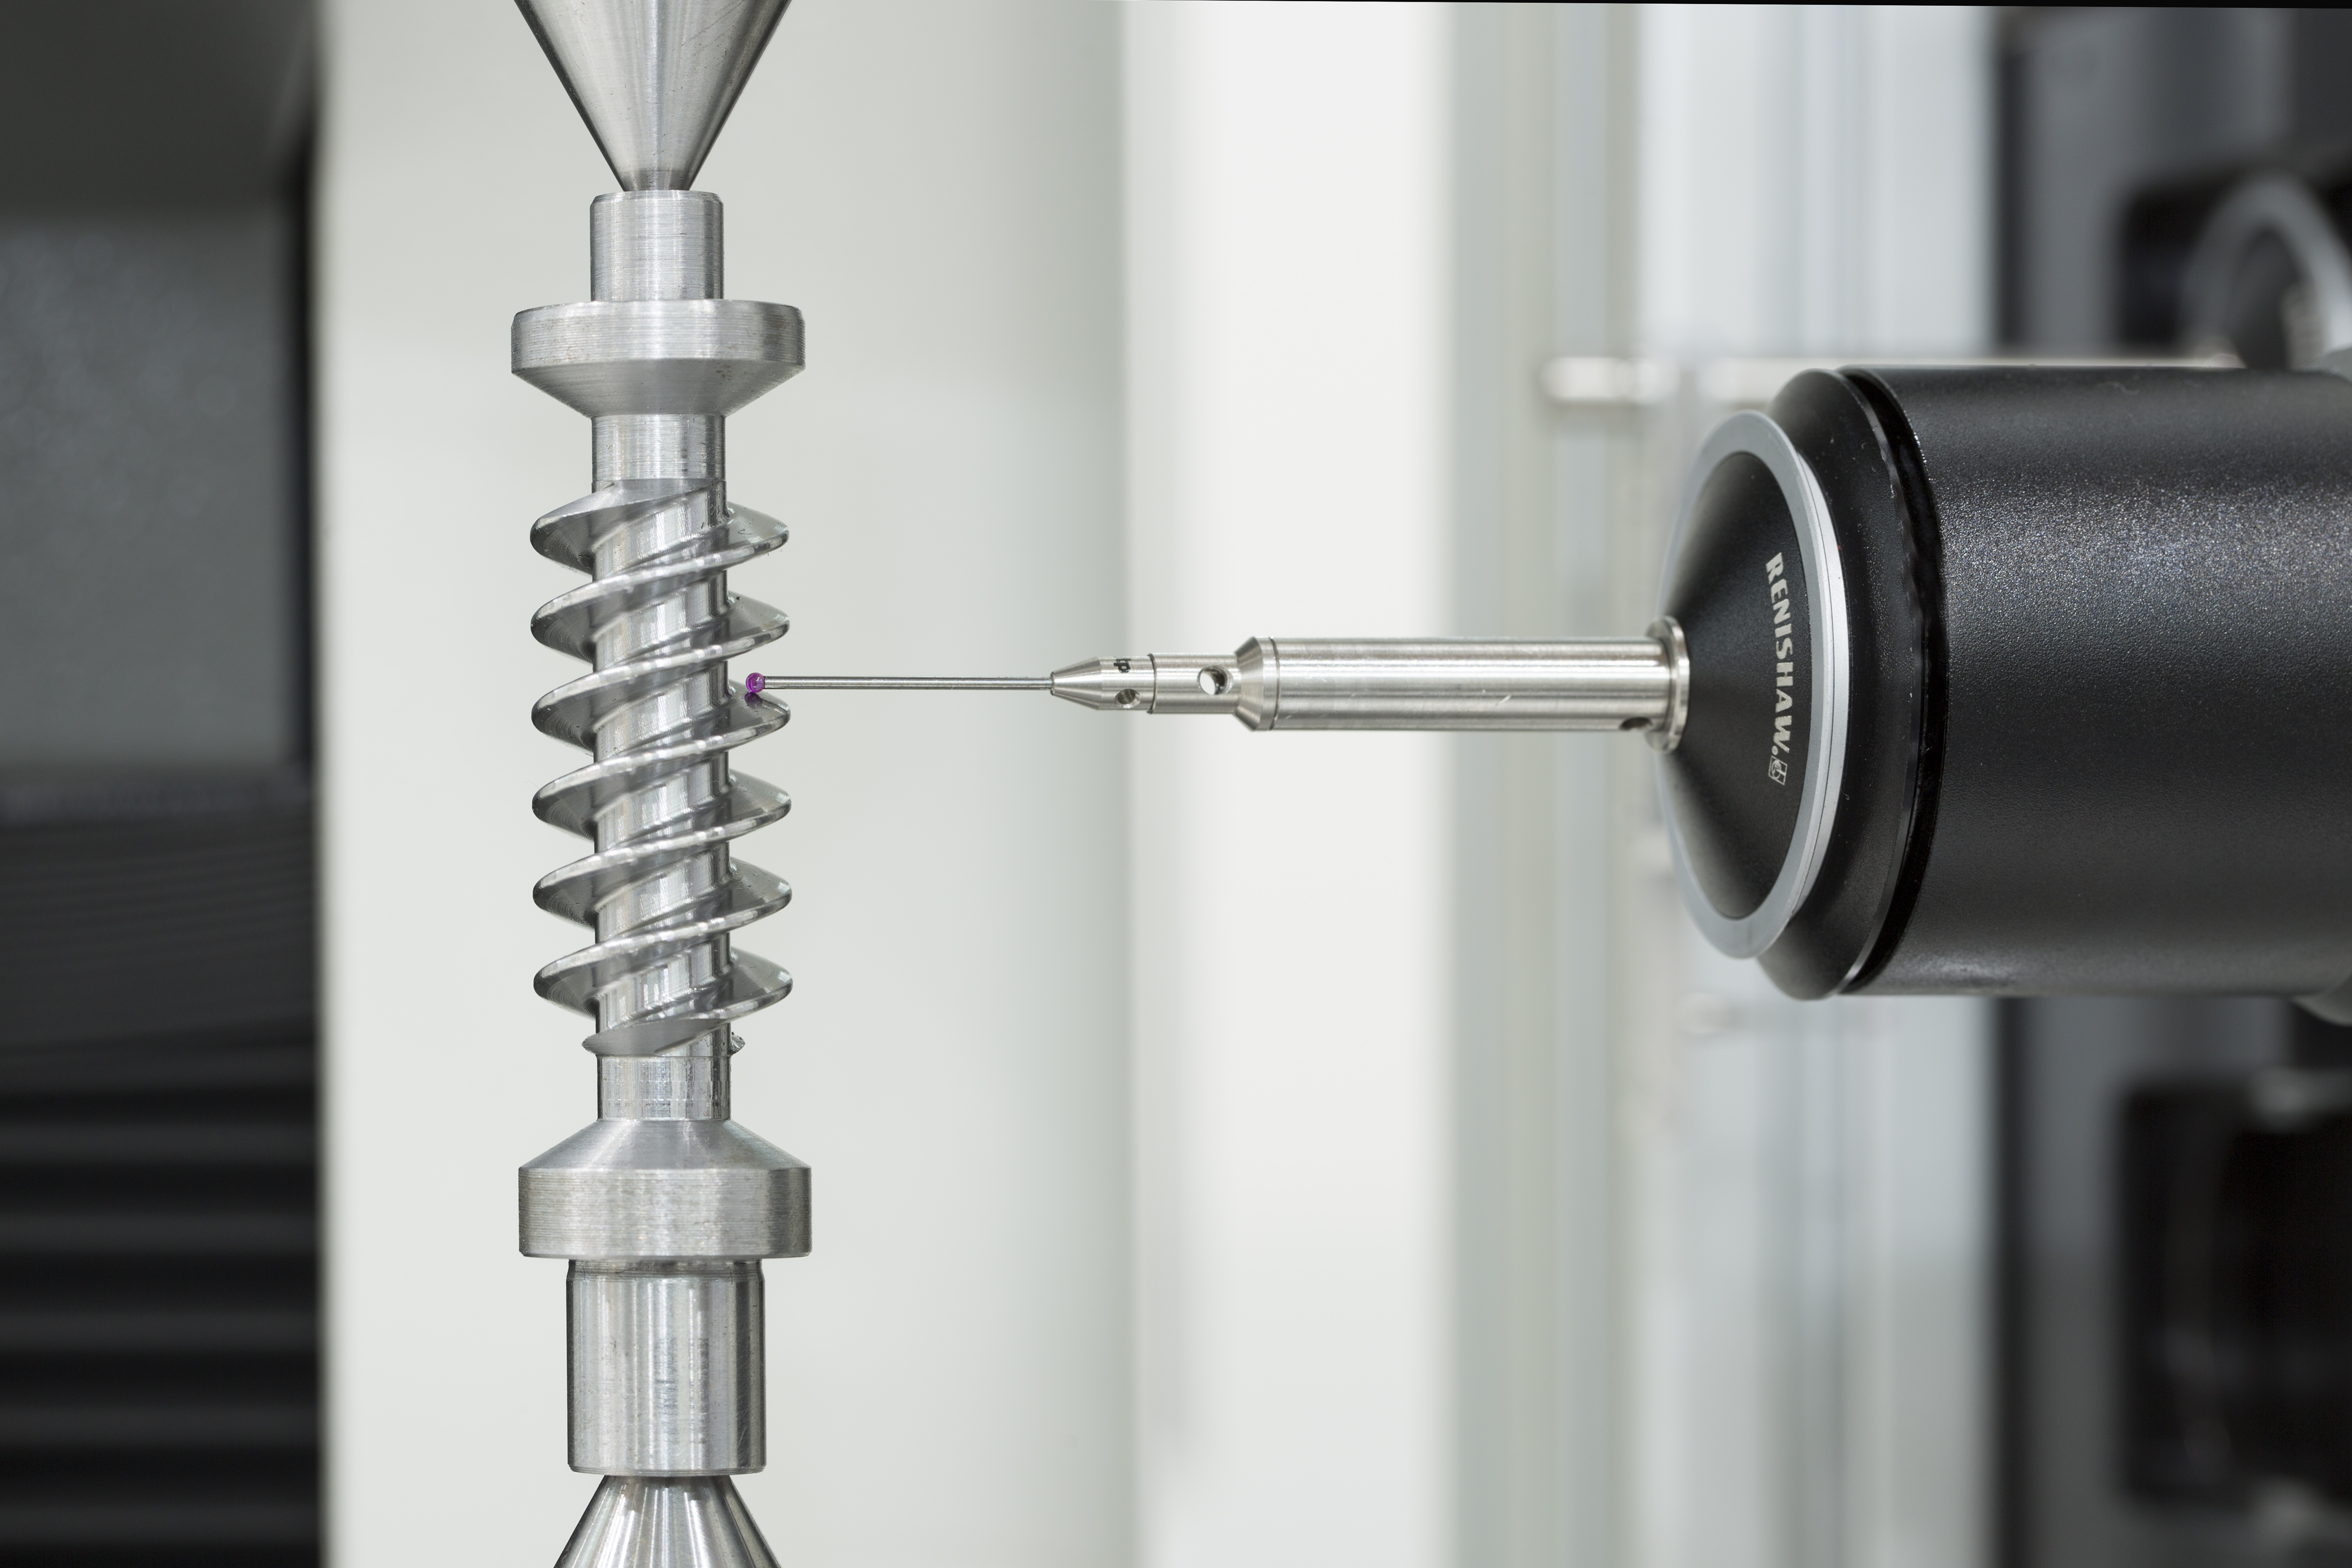
Liebherr WGT 280 offers a gear measuring machine for the fast and efficient analysis of small gears up to a maximum diameter of 280 mm. (Courtesy Liebherr)
For the most effective gear production, Bruederle said that inspection results today must provide the highest accuracy, liability and reliability. “Measuring speed and accuracy may therefore exclude each other and depend on the gear geometry. The development of a specific measuring strategy—based on gear geometry and the production method— is required.”
E-mobility has expanded gear measuring solutions to meet automotive demands.
“The development of new production methods like the polishing of gear teeth with and addition grinding process with the purpose of stochastic distribution of grinding marks on the tooth flank also known as silent shift grinding find their way in the development of hardware and software components on the inspection machines,” he added.
Sensors and software extensions for evaluation of surface roughness (special sensor required), evaluation of dedicated end reliefs, and evaluation and analysis of waviness and undulation will continue to play a large role for the analysis of e-drive gears.
Higher Inspection Levels
Large scale transmission manufacturing requires a greater focus on noise behavior and quality for each gear in the powertrain. Although the electric motor provides a variety of advantages for the future of transportation, it does very little to hide gear noise. New inspection equipment and technology, therefore, must provide the tools to bring comfort, reliability and precision to all future e-mobility applications.
